The Ultimate 7-Day Sourdough Starter Guide
The Ultimate 7-Day Sourdough Starter Guide – From Flour and Water to Your First Artisan Loaf
There’s something magical about making sourdough.
With nothing more than flour, water and a little patience, you can create a living culture that has been used by bakers for thousands of years. The wild yeasts and beneficial bacteria naturally present in the flour begin to ferment, producing a starter capable of raising bread without commercial yeast.
At Winchester Cookery School, we wanted to show that sourdough doesn’t have to be intimidating. That’s why we documented the entire process over seven days on our YouTube channel, showing every success, every setback and every feed.
If you’ve ever thought sourdough was too complicated, this guide will prove otherwise.
What You’ll Need
Strong Canadian bread flour
Granary flour
Filtered or bottled water
A clean glass jar
Digital scales
A spoon or spatula
We chose a mixture of strong Canadian bread flour for its high protein content and granary flour because it contains more natural microorganisms that help kick-start fermentation.
Day 1 – Creating the Starter
Mix:
50g granary flour
50g strong Canadian bread flour
100g water
Mix until smooth.
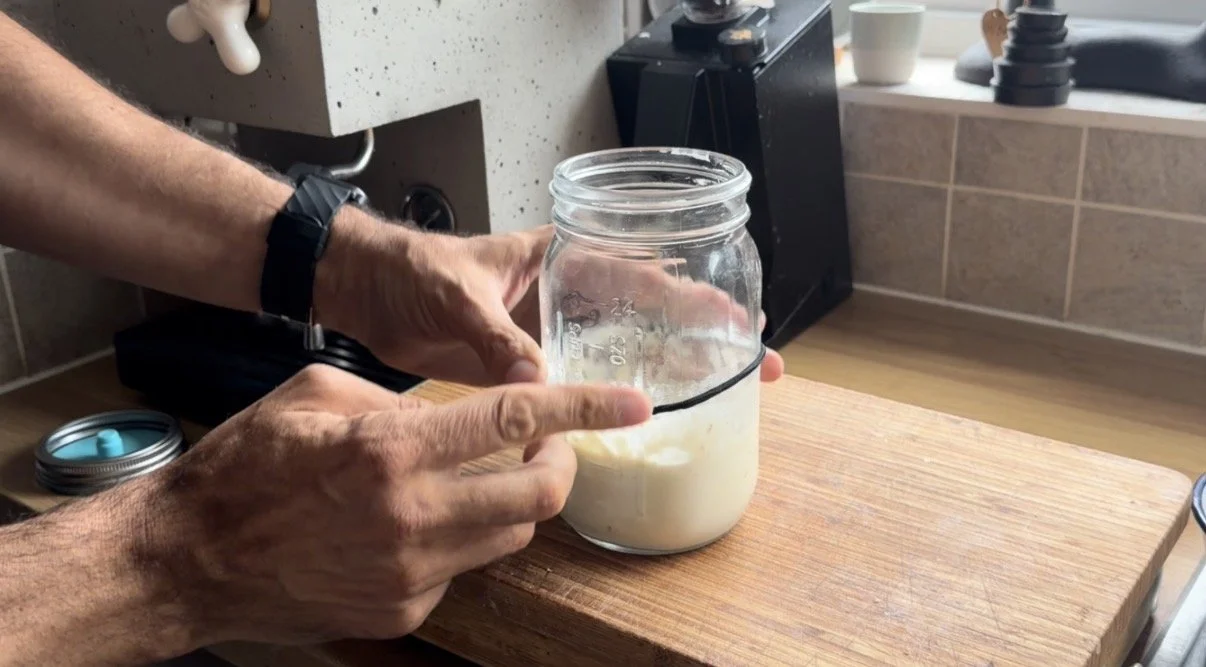
Scrape down the sides of the jar, loosely cover and leave at room temperature for 24 hours.
Nothing dramatic will happen today—but the process has begun.
Day 2 – The First Signs of Life
You may notice:
A few bubbles
A slight fruity aroma
Tiny pockets of fermentation
Discard around half of the starter before feeding.
Feed with:
50g granary flour
50g strong Canadian bread flour
100g water
Mix well and leave for another 24 hours.
Day 3 – Fermentation Begins
By now you’ll often see:
More bubbles
A slight rise
A pleasant yoghurt-like smell
The wild yeast population is increasing while beneficial bacteria begin producing the mild acidity that gives sourdough its distinctive flavour.
Feed as before.
Day 4 – Trust the Process
Many starters appear to slow down around Day 4.
This is completely normal.
The bacterial population is changing and establishing a healthy balance. Some people mistakenly think their starter has failed, but this is simply part of the natural fermentation cycle.
Discard and feed again.
Consistency is the secret.
Day 5 – Real Activity
Today you should begin seeing:
Significant bubbling
Noticeable rise
Starter doubling in size
A fresh, slightly fruity aroma
Your starter is becoming stronger and more predictable.
Continue feeding once every 24 hours.
Day 6 – Building Strength
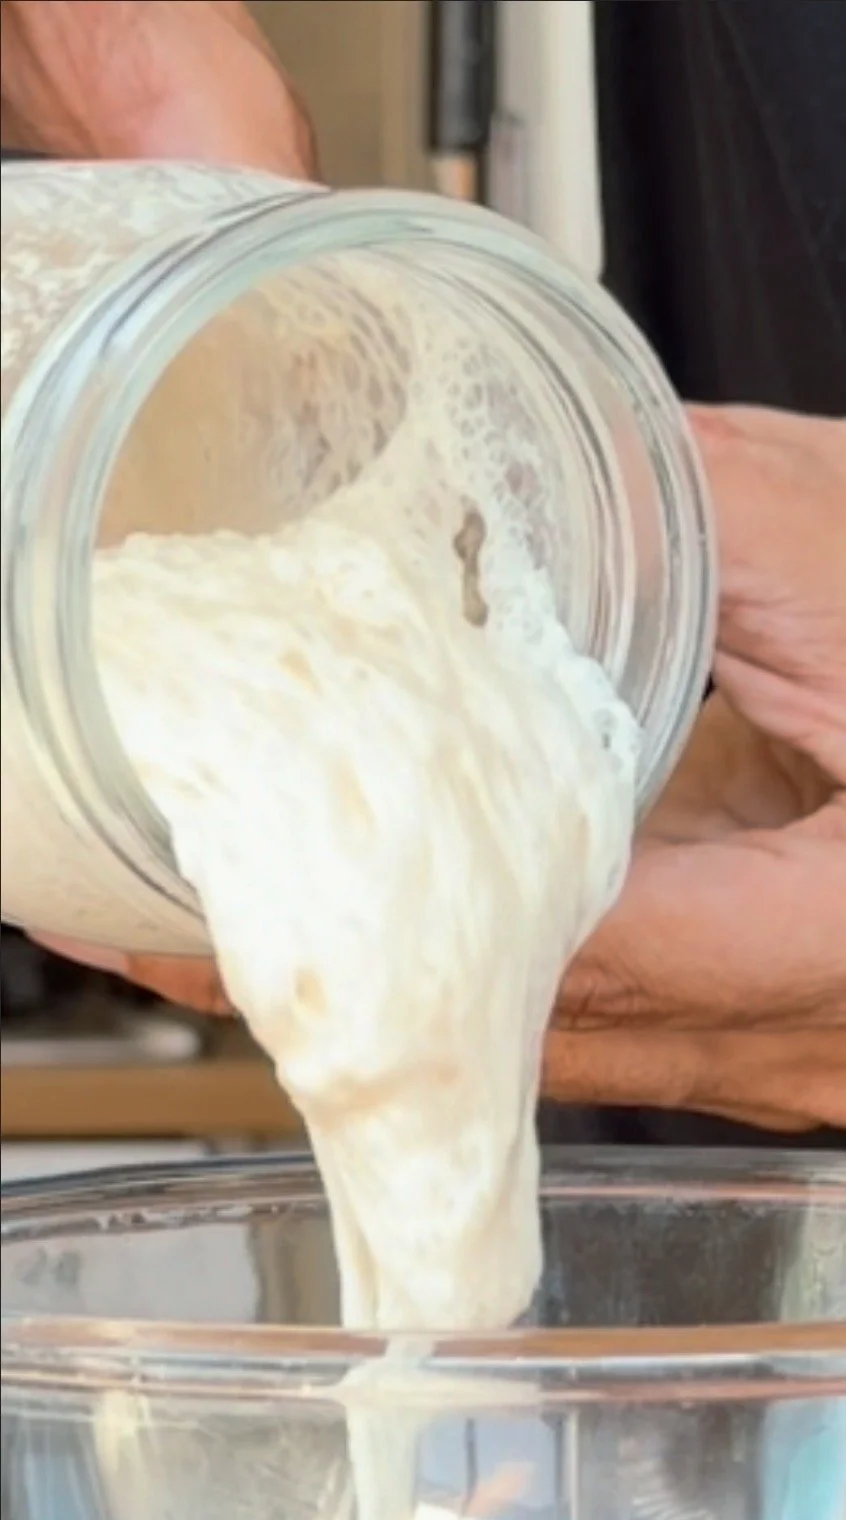
Your starter should now be rising reliably after each feed.
It should feel:
Light
Aerated
Full of bubbles
Slightly elastic
At this stage you’re developing strength rather than simply growing yeast.
The more consistent your feeding schedule, the stronger your starter becomes.
Day 7 – Ready to Bake
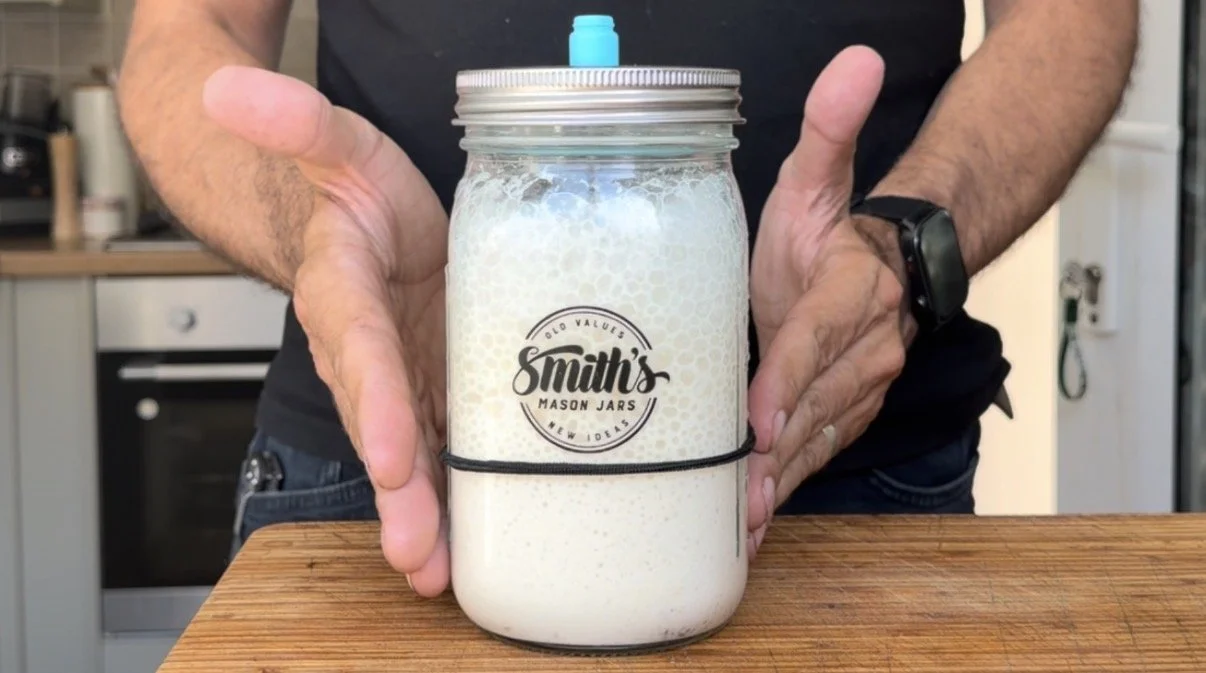
After a week your starter should:
Double in size within 4–6 hours
Smell pleasantly tangy
Be full of bubbles
Float in water (although this isn’t always essential)
You now have a healthy sourdough starter ready to bake your first loaf.
The best part?
As long as you continue feeding it, your starter can last for years—even decades.
Our 70% Hydration Sourdough Recipe
Ingredients
500g strong bread flour
350g water (70% hydration)
100g active sourdough starter
10g fine sea salt
Method
1. Mix
Combine the flour and water until no dry flour remains.
Leave for 30–60 minutes (autolyse).
2. Add the Starter
Mix in:
100g active starter
Rest for 20 minutes.
3. Add Salt
Add the salt and work it into the dough until fully incorporated.
4. Bulk Fermentation
Leave the dough to ferment for approximately 4–6 hours at room temperature.
During the first two hours perform a stretch and fold every 30 minutes.
This develops gluten naturally without excessive kneading.
5. Shape
Turn the dough onto a lightly floured surface.
Shape into a tight round or oval loaf.
Place into a well-floured banneton.
6. Final Proof
Cover and refrigerate overnight (8–16 hours).
This slow fermentation develops flavour and makes scoring easier.
7. Bake
Preheat a Dutch oven or baking stone to 250°C.
Turn out the dough, score with a sharp blade and bake:
20 minutes with the lid on
Reduce to 220°C
Bake a further 20–25 minutes with the lid off until deep golden brown.
Cool completely before slicing.
Why Homemade Sourdough Is Worth the Effort
Sourdough isn’t just bread—it’s a craft.
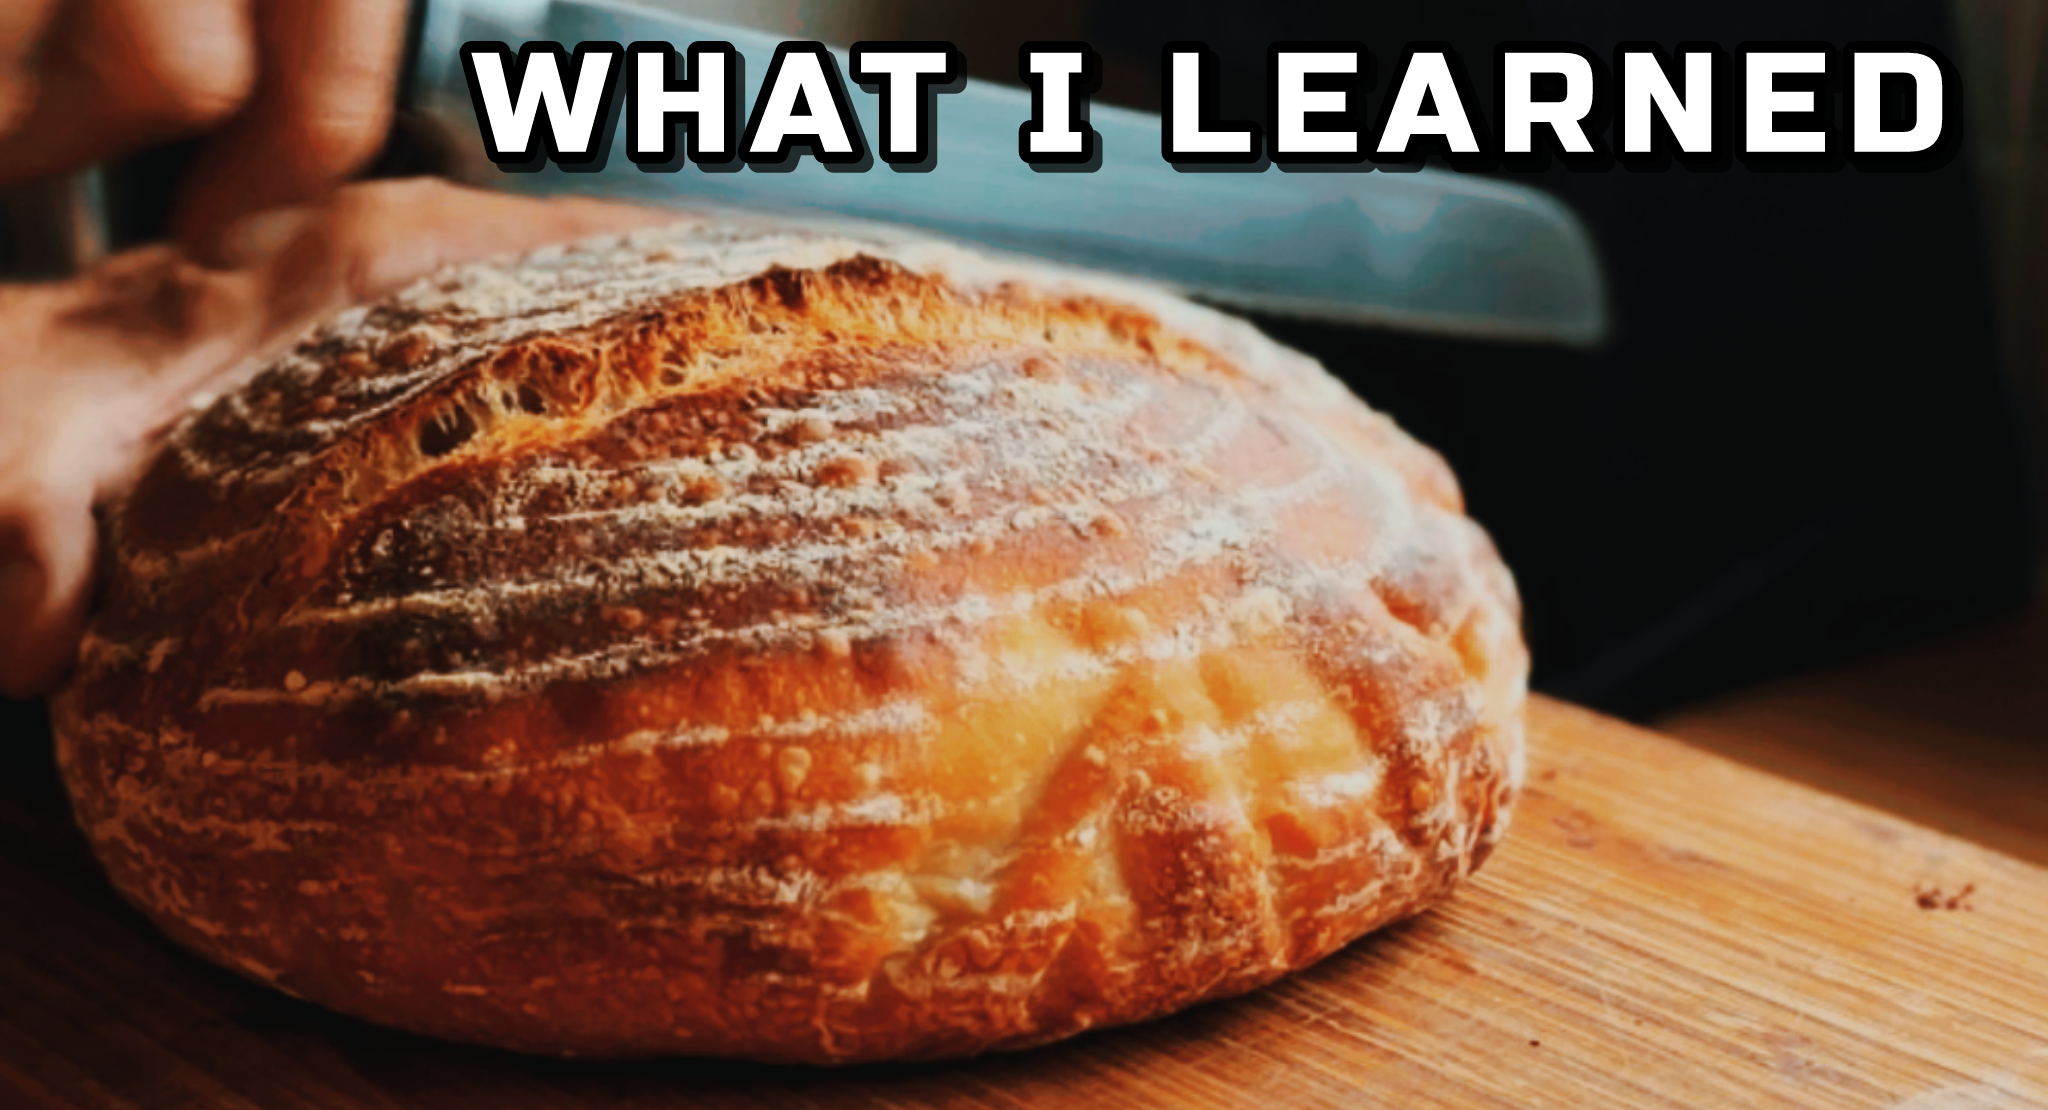
Every loaf is unique, shaped by the flour, the temperature, the fermentation and the care you put into it. The crust is crisp, the crumb is open and airy, and the flavour has a depth that simply can’t be achieved with commercial yeast.
Once you’ve baked your first loaf, you’ll understand why sourdough has captivated bakers for centuries.
Follow the Journey
On our YouTube channel, we’ve documented every day of creating this sourdough starter—from mixing the flour and water on Day 1 to baking a beautiful artisan loaf on Day 7.
Whether you’re baking your very first loaf or looking to improve your technique, we’d love you to follow along.
At Winchester Cookery School, our mission is simple: to help home cooks build confidence, understand the science behind great food, and create restaurant-quality results in their own kitchens. Happy baking!